2013 is over after today concludes and I have to say this has been a pretty uneventful year in my life. Overall things have been status quo. We were fortunate that we had no tragedy or sorrow, yet no major happy events either. My sister got engaged which was a wonderful event, I was named Teacher of The Year at my school which was also amazing, but overall a very standard year. I'm at a point in my life where I just prefer it that way. I am so happy with how things are right now with my family, my job, and my life in general that status quo is perfectly acceptable. So here's to 2014- may you be just as uneventful as 2013! And to all my readers, I wish you the happiest and healthiest New Year!
December was hectic, as it always is. I had Landon's birthday party at the beginning of the month, John's birthday was in the middle, and the holidays wrapped up the end of the month. Not a ton of cooking was done, I don't even really remember why. December is always like that though, no? You get to the end and you think, "Wow, how did this happen? What did I even do this month?!"
I started off December with my ol' favorite, BBQ chicken pizza. Really I make this monthly. Even *I* am sick of seeing this in my recaps, but I'm not sick of eating it...so... you'll probably keep seeing it.
For Landon's birthday party we had a kids' party out and then had the grandparents back at the house for dinner after. One of the appetizers I served at the kids' party for the adults was the veggie pizza. I never use the spinach anymore and load up on the other stuff. It was such a hit. Several people asked to take some of the leftovers home with them. This is always a crowd pleaser.
I also served spinach dip for the adults at the kids' party. The whole platter of it went so I guess people liked it!
That night for dinner I made chicken parm and baked ziti. I made a batch of tomato sauce with onion and butter. I'll tell you, it wasn't as good this time. I used regular canned tomatoes instead of San Marzano and I saw a big difference in the taste. Now I've learned, always use the good tomatoes!
I used the sauce to make San Giorgio baked ziti which is my standard ziti recipe. Landon was a big fan of it this time around and ate a huge plate. He was starving after the excitement of his birthday party. I think he housed a big plate of this which made me one happy mama!
After Landon's birthday comes John's! That means one thing: Oreo fudge bars! These are John's absolute favorite thing I made. My food processor is broken so I hand crushed them with a rolling pin and it didn't form a fine enough crumb. Due to that I didn't have enough to fill the whole 9x13 pan, but it was still perfectly delicious.
I also made John a favorite meal of his, buffalo chicken macaroni and cheese. This was the perfect meal for the day I made it. It was snowy and cold and this meal was the ultimate comfort food. Totally hit the spot.
For a Christmas cookie exchange I made my famous cake batter cookies but rolled the balls in red, white, and green sprinkles to make them more festive. I found them a little too sweet with the addition of the sprinkles but they were still delicious.
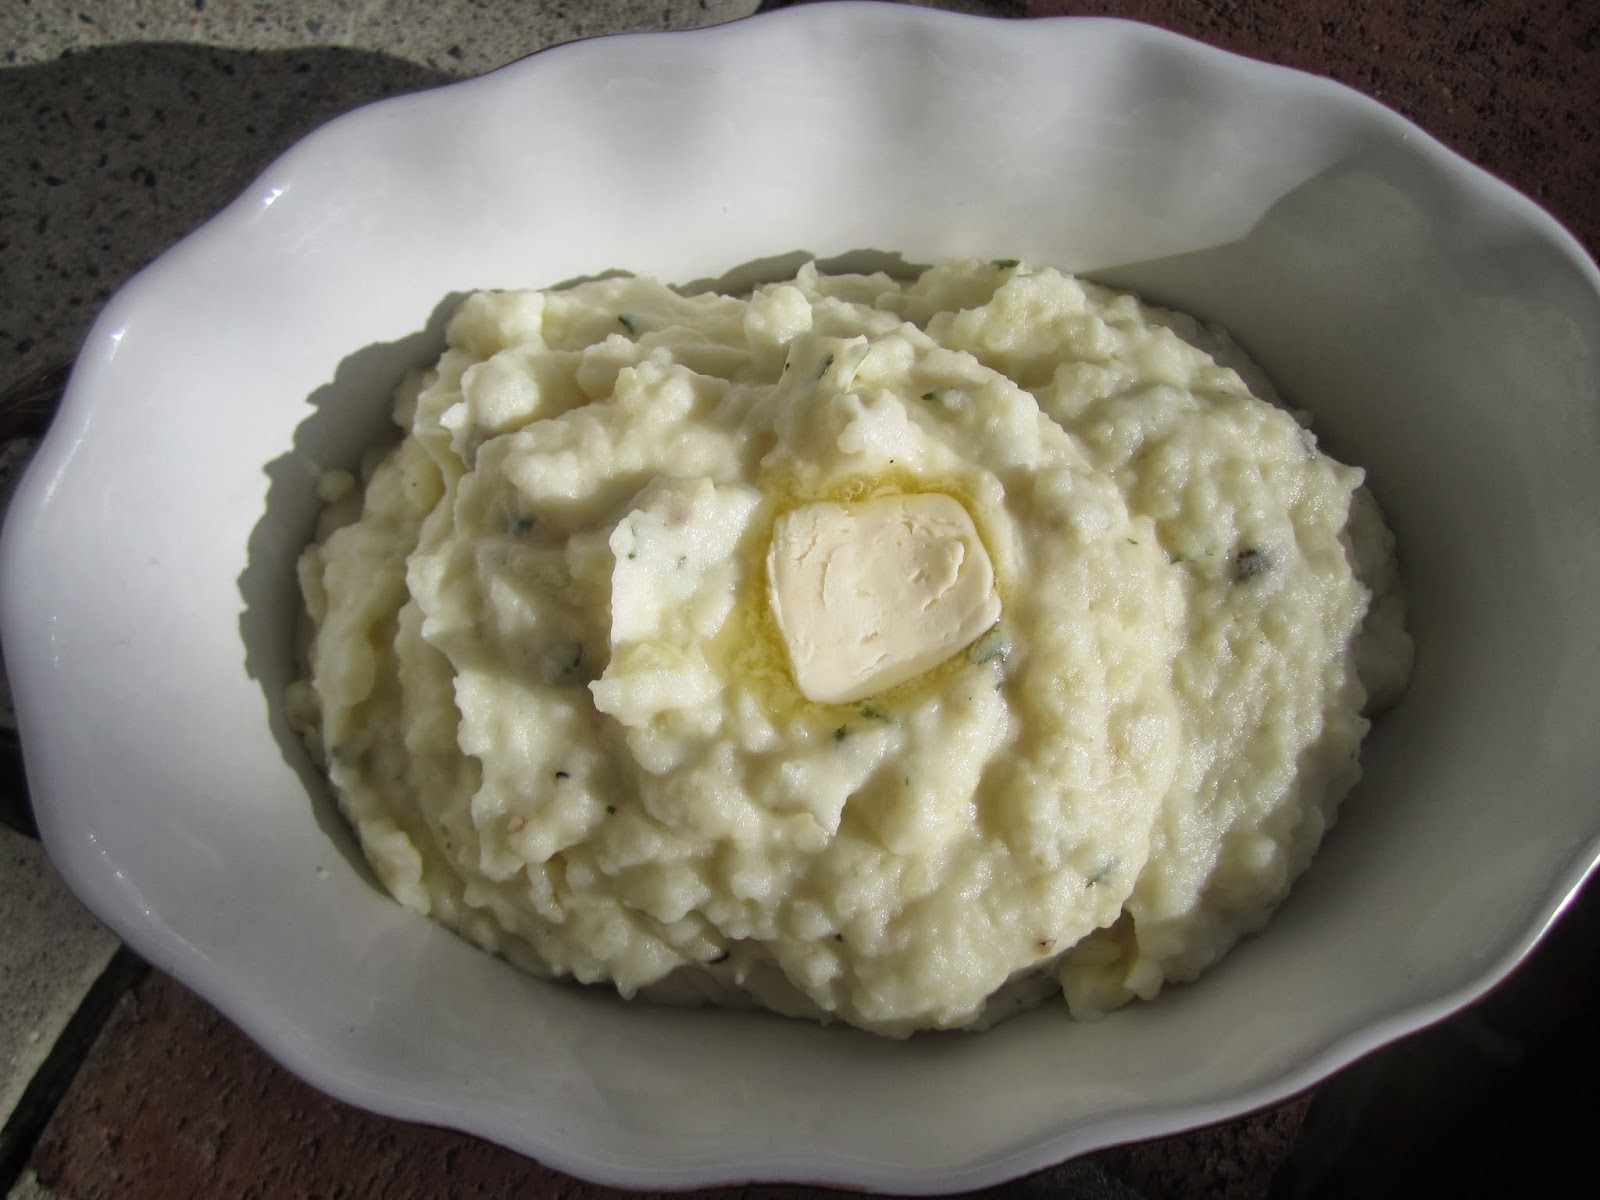
Last but not least for Christmas day I brought corn casserole. It's just not a holiday dinner without this stuff!
...now everyone go have a wonderful New Years Eve and I'll see you in 2014!!
Tuesday, December 31, 2013
Sunday, December 29, 2013
Sweet and Sour Chicken
Howdy! How was everyone's Christmas? This week has been CRAZY, hence no new recipes posted. I started off my break with a bad virus, which spread to John, and then we had Christmas and tons of family obligations. But I'm back, woo hoo!
I originally posted this recipe back in November of 2008 and have been enjoying it since then. However the picture was so bad that it really prevented me from sharing it with too many people. I decided it was time to give this post a little "facelift" with a new picture, new post, etc.
Sweet and sour chicken is a hit in our house, not just among the adults but with the littlest member of the Stephanie Cook's kitchen crew. Landon LOVES sweet and sour chicken and would eat it daily if I allowed him to. We discovered this with Trader Joe's frozen version when I put a piece on Landon's plate, expecting him to snub it, and instead watched him devour 5-6 big chunks of chicken. Anything that makes my little man eat is a hit. The only word of caution with this is that the sauce really does need to cook for an hour on the chicken. It doesn't start to really thicken up until the last 15 minutes, so don't get worried if after 40 minutes it still looks like chicken soup. It'll thicken and be totally delicious!
Source: Reposted from Stephanie Cooks from November 2008
Ingredients:
Chicken:
3-4 boneless, skinless chicken breasts
Salt and pepper
1 cup cornstarch
2 eggs, beaten
1/4 cup canola oil
Sauce:
¾ cup sugar
4 tablespoons ketchup
½ cup vinegar
1 tablespoon soy sauce
1 teaspoon garlic salt
Directions:
Preheat the oven to 325.
1- Cut boneless chicken breasts into chunks. Season with salt and pepper.
2- Dip chicken in cornstarch and then in egg. Fry in a little oil until brown but not cooked through.
3- Place in a single layer in a baking dish. Mix sauce ingredients together and pour over chicken.
4- Bake for one hour at 325 degrees, uncovered. Turn chicken every 15 minutes.
Wednesday, December 18, 2013
Perfect Roasted Chicken
Stop the presses: I am about to make a BOLD claim. This was, hands down, the most delicious roasted chicken I've ever had. There. I said it. I know, I know, that's a bold statement to make. There are so many roasted chicken recipes out there, and yet I stick to my claim that this was the best one *I've* ever had. Ironically at first I was cursing this chicken... the original recipe claims it will take slightly over an hour. At that time my chicken was nowhere near cooked. I let it go for another hour, checking the temperate with my meat thermometer every 15 minutes, and it was finally done. It was so juicy and flavorful. I loved the lemon accent to it... gah! I just can't get over how good this was! Landon, who had already had dinner due to my chicken taking for-e-ver, even ate a big slice of it. The best part of this is the juices it makes are perfect for a lemony chicken noodle soup. I can't wait to make this again. I could see myself making this over and over for years to come!
Source: Adapted from The Pioneer Woman
Ingredients:
1 whole chicken, rinsed and patted dry ( 4-7 pounds)
1/3 cup butter, soft
1 whole lemon, zested and sliced in half
1 tsp dried rosemary
1/2- 1 tsp garlic salt
Black pepper
Directions:
1- Preheat the oven to 400.
2- Place the chicken in a roasting pan.
3- In a small bowl combine the butter and zest from lemon lemon. Mix well. Rub the mixture over the chicken.
4- Sprinkle the rosemary, garlic salt, and cracked black pepper over the chicken.
5- Squeeze the juices of the lemon over the chicken.
6- Bake for 1.5-2 hours, or until the chicken reads an internal temperate of 165.
7- Allow to sit 10 minutes before carving.
Labels:
chicken
Monday, December 16, 2013
Vanilla Buttercream Frosting
Confession: I have always liked tubbed/canned frosting and never really bothered to make my own. That is until recently. Recently I've felt like it just tastes too chemically and it doesn't have a rich/natural taste to it at all, nor does it have that light and fluffy texture I love so much.
With Landon's birthday party approaching I decided it was time to try out my friend Natalie's buttercream frosting, and boy am I glad I did. First of all, making icing from scratch is so easy... I don't know why I've been relying on a can. Second, the only part of cake that Landon eats is frosting so I definitely needed a delicious frosting for my little man. I have to say this is my new go-to frosting recipe. It made a ton- I was able to frost 40+ cupcakes and have some left over (granted I didn't pipe it on, if you were piping I'd think you get about 30 cupcakes or so). John and I were both eating it with spoons after I was done frosting the cupcakes (should I admit that? Possibly not...)
I wish I had bothered to take a picture of the cupcakes up close, but in the hustle and bustle of entertaining 13 kids age 1-3 I totally forgot. So don't mind the picture of the cupcake stand... you get the point.
Source: My friend Natalie
Ingredients:
2 sticks soft butter
1/2 cup whole milk
3 tbsp vanilla extract
6-8 cups powdered sugar
1/2-1 tsp vanilla bean powder (optional- I didn't use it)
Directions:
1- Beat the butter, milk, vanilla bean powder (if using) and vanilla in a stand mixer until well incorporated.
2- Slowly add the sugar, one cup at a time, until you reach the desired consistency. You will need somewhere between 6-8 cups, I used probably 7-8.
3- Once fluffy and well mixed frost your cupcakes/cake. Transfer to the fridge for about 10-15 minutes just to set the frosting.
4- Cake/cupcakes can be kept at room temperature once set.
Labels:
cake/cupcakes
Thursday, December 12, 2013
Chipotle Apricot Chicken
If you are on Pinterest you've probably seen the popular recipe floating around where you dump some chicken breasts, peach jelly, and a jar of Sweet Baby Rays Chipotle BBQ sauce in and let it do its magic. Well, lately I've been going through a lazy period in the kitchen and that sounded *perfect* to me. I was ordering my groceries online (yes, sometimes I do order them and have them delivered... which is a life saver some weeks) and it became clear the recipe just wasn't meant to be. Peapod didn't have the BBQ sauce. They didn't have peach jelly. It just wasn't going to work with two of the three ingredients missing! I decided to improvise and ordered chipotles in adobo and apricot jelly. Well... the night before I wanted to serve this I am getting ready to assemble my crockpot meal when I open the pack of chicken and I realize they didn't send me breasts, they sent me chicken strips. UGH. Clearly that meal just wasn't meant to be.
I decided to just do my own thing, turn it into an oven based meal, and just go with the flow. This really took no more effort than the original and the results were delicious! I'll probably make this again soon since I have a large jar of apricot jelly to go though now. I should also note I only used one chipotle pepper because I wanted Landon to eat it but if you like that rich smokey heat that chipotles in adobo add I'd use 2-3. One wasn't enough, but it was perfect for a toddler.
Source: Stephanie Cooks Original
Ingredients:
1 pound chicken strips
1/3 cup apricot jelly
1/2 cup BBQ sauce
1-3 chipotle in adobo peppers, finely diced (one for mild, two for medium, three for hot)
Salt and pepper
Directions:
1- Assemble the chicken neatly into an oven safe dish.
2- In a bowl combine the jelly, BBQ sauce, and peppers. Mix well. Pour over the chicken.
3- Season with salt and pepper.
4- Allow to marinade in the sauce anywhere from 4-24 hours (I let it go overnight).
5- Bake at 375 for about 20-25 minutes, uncovered, or until chicken is cooked through and the sauce is bubbling gently.
Labels:
chicken,
quick and easy
Monday, December 9, 2013
Make Ahead Mashed Potatoes (Crock Pot)
**Pardon the lousy photo- I took this in a rush on Thanksgiving, it's the best I could do!**
A few years ago my parents signed up to make the mashed potatoes for Thanksgiving and came with them in the crockpot to be kept on "keep warm" until dinner. I don't know what that idea had never crossed my mind but it hadn't and as soon as I saw that I knew that would be my preferred method for Thanksgiving going forward. Sometimes mashed potatoes can get thick and gross when made ahead but I found this method really keeps them perfectly moist. This year was my 5th year hosting Thanksgiving and I have to say it finally came perfectly with ease. The first two years I did too much- think personalized cookies for place seatings, gift boxes with ornaments to hold the leftovers, etc. I just did TOO MUCH. This led to an insane amount of stress. Then two years ago I was extremely pregnant (I had Landon 4 days after hosting Thanksgiving!), last year I had a baby, and this year I have a toddler. Needless to say my amount of effort has gone down (..dramatically...) and yet I'd argue the meal has gotten better. Sometimes less is more... and a less stressed host is definitely a positive.
So back to the potatoes. In my efforts to get as much done ahead of time as possible I made these the morning of Thanksgiving and put them in the crockpot on keep warm for about five hours. They were delicious and having one thing done, cooked, and hot before I even put the turkey in was a bonus!
Source: Recipe adapted from Bon Appetit
Ingredients:
5 pounds Russet potatoes (or a mix of Russet and yukon gold), peeled and chopped
1 cup whole milk
1 cup heavy cream
1 stick butter
1/2 cup sour cream
1 tsp garlic salt
Fresh ground pepper
Additional butter for greasing the crockpot
Directions:
1- Place potatoes in a pot. Cover with water. Boil until soft.
2- Once cooked soft, drain and set aside. In the pot combine the milk, butter, and cream. Heat over low. Add the potatoes to the pot and mash (either use a hand mixer or a masher... I like to mash by hand because I like them more rustic, but for creamier ones whip them).
3- Fold in the sour cream, garlic salt, and pepper.
4- If not serving immediately, grease the inside of the crockpot with butter. Add the potatoes. Cover and place on "keep warm" (NOT low) for up to 5-6 hours. Stir periodically. If it seems like it's thick add more milk (mine didn't get thick).
Labels:
Crock Pot,
potatoes,
side dishes
Wednesday, December 4, 2013
Apple Pie Snickerdoodle Bars
If I had to pick a favorite part of Thanksgiving this year I'd go with these cookie bars. Apple pie isn't typically a favorite of mine but I do love apple based desserts, especially if they are covered in ice cream and sitting atop a pastry. Just sayin'. So when this recipe came across my radar I was instantly sold. I think it was the first new recipe I added to my Thanksgiving menu for the year since I tend to stick with the same classic things, but this was a totally delicious hit. I really liked the end pieces since there was a higher cookie-to-apple ratio on the edges for some reason. Yum.. try these, soon.
A couple funny side notes- I used to be scared to make snickerdoodles because of the cream of tartar. I don't know what I thought it was, but clearly I didn't know it was just a powder... I wish I had researched it instead of skipping all snickerdoodle recipes for years! Aside from cream of tartar, I never cook with shortening. I bought it for these and Landon was intrigued. He kept yelling "ICE CREAM! FOR ME!" I think he would have been pretty disappointed if I let him lick the lard...
Source: Cookies On Friday
Ingredients:
½ cup butter, room temperature
½ cup shortening
1-1/2 cups sugar
2 eggs
2-3/4 cups flour
2 teaspoons cream of tartar
1 teaspoon baking soda
1/2 teaspoon salt
20 ounce can apple pie filling
1/3 cup cinnamon sugar
Directions:
1- Preheat oven to 350 degrees. Line a 9” x 13” pan with foil and spray the foil with nonstick cooking spray.
2- In a large mixer bowl, combine the butter, shortening, sugar, and eggs; beat until creamy. In a separate bowl, combine the flour, cream of tartar, baking soda, and salt. With the mixer running on low, add the flour mixture and stir until combined. Do not over beat.
3- Press 2/3 of the dough into the prepared pan. Sprinkle with 4 tablespoons cinnamon sugar and then spread the apple pie filling over the dough. With the remaining dough, take small pieces and flatten them and place on top of the apple pie filling. Continue with additional pieces of dough, piecing together a random top. You will not cover all of the apple pie filling.
4- Bake for 35-40 minutes until the dough is baked and the bars begin to brown around the edges. Cool completely. Use the foil to lift the bars from the pan; place on a cutting board. Remove the foil and cut into bars.
Subscribe to:
Posts (Atom)